
Testing Android apps on physical devices gets expensive fast. Ten phones across different screen sizes and API levels? That’s thousands of dollars sitting in a drawer.
Learning how to use Android Studio emulator solves this problem. The emulator simulates real Android hardware on your computer, complete with GPS, camera, network conditions, and sensor inputs.
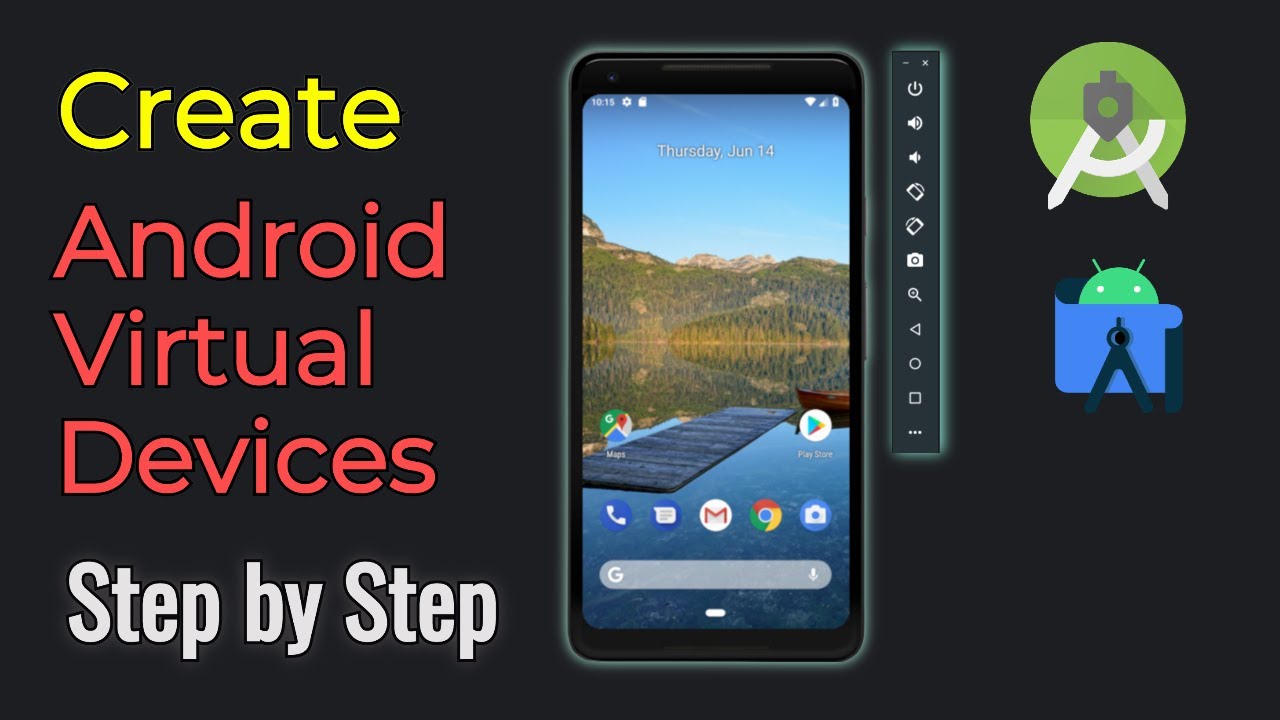
This guide walks through the complete setup process: opening Device Manager, creating an Android Virtual Device, selecting system images, configuring RAM and storage, and launching your first emulator instance.
By the end, you’ll have a working virtual device ready for app debugging and testing.
Introduction
Using the Android Studio emulator is the process of running a virtual Android device on your computer to test applications without physical hardware.
Developers need this when building apps, debugging code, or checking how layouts render across different screen sizes and API levels.
This guide covers 7 steps requiring approximately 10-15 minutes and basic familiarity with the Android Studio interface.
The emulator ships bundled with Android Studio, so there’s no separate download. It simulates phone calls, GPS location, network conditions, and hardware sensors.
Pretty much everything you’d test on a real device, minus the battery drain on your actual phone.
Prerequisites
Before creating your first Android Virtual Device, verify these requirements:
- Android Studio version 2024.1 (Koala) or later installed (installation guide here)
- Minimum 8 GB RAM (16 GB recommended for smoother performance)
- At least 4 GB free disk space for system images
- 64-bit operating system: Windows 10/11, macOS 10.14+, or Linux
- Intel HAXM or Windows Hypervisor Platform enabled for hardware acceleration
- Basic understanding of the Android Studio interface
Hardware acceleration matters more than most guides let on. Without it, the emulator crawls. I’ve seen developers waste hours debugging “slow emulator” issues that were just missing HAXM drivers.
The Android SDK tools should already be installed if you completed the initial Android Studio setup wizard.
Step One: How Do You Open the Device Manager in Android Studio?
The Device Manager is where you create, edit, and launch virtual devices. Access it through View > Tool Windows > Device Manager from the main menu bar, or click the device icon in the right-side toolbar.
Action:
- Main menu path: View > Tool Windows > Device Manager
- Alternative from Welcome screen: More Actions > Virtual Device Manager
- Toolbar shortcut: Click the phone icon with Android figure on the right panel
Result: The Device Manager panel opens, displaying any existing virtual devices or an empty list if this is your first time.
Purpose
The Device Manager centralizes all AVD operations. You’ll return here whenever you need to create new test configurations, wipe device data, or adjust emulator settings.
If you’re working on Android development projects targeting multiple device types, expect to have several AVDs configured here.
Step Two: How Do You Create a New Android Virtual Device?
Creating an AVD defines which hardware profile and Android version your virtual device will simulate. Click the + icon in Device Manager, then select “Create Virtual Device” to start the configuration wizard.
Action:
- In Device Manager, click the + (plus) button
- Select Create Virtual Device from the dropdown
- The Select Hardware window appears with device categories
Result: A wizard opens showing Phone, Tablet, Wear OS, TV, and Automotive device categories.
Purpose
Each AVD functions as an independent device with its own storage, user data, and SD card configuration.
You might create one AVD for a Pixel 8 running Android 15, another for a budget phone with Android 12. This flexibility beats buying ten physical devices for mobile application development testing.
Step Three: How Do You Select a Hardware Profile for the Emulator?
Hardware profiles define screen size, resolution, RAM, and whether the device includes Play Store. Select a profile from the Phone category (Pixel 8 recommended for standard testing), then click Next.
Action:
- Choose category: Phone (left sidebar)
- Select device: Pixel 8 or your target device (look for Play Store icon if needed)
- Click Next
Result: The System Image selection screen appears.
Hardware Profile Details
Profiles marked with the Play Store icon are CTS compliant. This means Google Play services work properly, which matters if your app uses Google Maps, Firebase, or in-app purchases.
Devices without the Play Store icon give you a cleaner AOSP experience. Useful for testing apps that don’t rely on Google services.
Purpose
The hardware profile determines screen density (DPI), available RAM, and default orientation. Picking the wrong profile won’t break anything, but your unit testing and UI tests might not reflect real-world conditions.
I usually keep a Pixel device for standard testing and one smaller-screen device for layout edge cases.
Step Four: How Do You Choose a System Image for the Virtual Device?
The system image determines which Android version runs on your emulator. Select an API level from the Recommended tab (API 35 for Android 15 is current), download it if needed, then click Next.
Action:
- System Image window > Recommended tab
- Select API 35 (VanillaIceCream) or your target API
- Click Download if the image shows a download icon
- Wait for download to complete, then click Next
Result: The Verify Configuration screen appears with AVD settings.
Choosing the Right API Level
Test on the minimum API your app supports plus the latest stable release. If your minSdk is 24, create AVDs for both API 24 and API 35.
The x8664 images run faster than ARM on Intel/AMD processors. Stick with x8664 unless you’re testing ARM-specific behavior.
Purpose
Different API levels expose different features and behaviors. An app working perfectly on Android 15 might crash on Android 10 due to deprecated methods or permission changes.
Step Five: How Do You Configure AVD Settings Before Launch?
The Verify Configuration screen lets you customize device name, orientation, and advanced settings like RAM allocation. Adjust settings as needed, then click Finish to create the virtual device.
Action:
- Set AVD Name: Use descriptive names like “Pixel8API35PlayStore”
- Choose Startup orientation: Portrait or Landscape
- Click Show Advanced Settings
- Set RAM: 2048 MB minimum (4096 MB for smoother performance)
- Set Internal Storage: 2048 MB or higher
- Click Finish
Result: New AVD appears in Device Manager, ready to launch.
Graphics Rendering Options
Automatic works for most setups. Switch to Hardware if you have a dedicated GPU; use Software if you see rendering glitches.
Purpose
Proper RAM and storage allocation prevents out-of-memory crashes during testing. Skimping here causes headaches later when installing multiple apps or running memory-intensive tests.
Step Six: How Do You Launch the Android Emulator?
Click the Play button (green triangle) next to your AVD in Device Manager. The emulator window opens and boots the virtual Android device.
Action:
- Open Device Manager
- Locate your AVD in the list
- Click the Play icon (triangle) next to the device name
- Wait for boot sequence (30-90 seconds on first launch)
Result: Emulator window displays Android lock screen or home screen.
First Boot vs Quick Boot
First launch takes longer because the system initializes. Subsequent launches use Quick Boot snapshots, loading in 5-10 seconds.
If you need a clean state, use Cold Boot from the AVD dropdown menu.
Purpose
A running emulator instance is required before deploying apps. The emulator must fully boot before Android Studio can install your APK.
Step Seven: How Do You Run an App on the Android Emulator?
With the emulator running, click the Run button in Android Studio’s toolbar. Select your emulator from the deployment target list, and the app compiles and installs automatically.
Action:
- Ensure emulator is running and fully booted
- In Android Studio toolbar, click Run (green play button) or press Shift+F10
- Select Deployment Target dialog > choose your running emulator
- Click OK
Result: Gradle builds the project, installs the APK on the emulator, and launches your app.
Purpose
This completes the development cycle: write code, run on emulator, observe behavior, repeat. The software testing lifecycle depends on quick iteration between code changes and visual verification.
Understanding the difference between APK and AAB formats matters when you move toward production, but for emulator testing, Android Studio handles this automatically.
Verification
Confirm your setup works correctly:
- Emulator displays Android home screen without graphical artifacts
- Touch input responds (click simulates tap)
- App icon appears in app drawer after installation
- App launches and UI renders correctly
- Logcat window in Android Studio shows app log messages
- Rotation (Ctrl+Left/Right) changes orientation properly
If all checks pass, your emulator environment is ready for integration testing and feature development.
Troubleshooting
Issue: Emulator Runs Slowly
Solution: Enable hardware acceleration. Windows: SDK Manager > SDK Tools > Intel x86 Emulator Accelerator (HAXM). Verify Hyper-V is disabled if using HAXM, or enable Windows Hypervisor Platform instead.
Allocate more RAM to the AVD (4096 MB) and close unnecessary applications.
Issue: Emulator Fails to Start
Solution: Device Manager > click three-dot menu next to AVD > Cold Boot Now.
If that fails, try Wipe Data to reset the virtual device completely. Check that virtualization is enabled in BIOS settings.
Issue: Insufficient Storage Error
Solution: Device Manager > Edit (pencil icon) > Show Advanced Settings > increase Internal Storage to 4096 MB or higher.
Also check your computer’s disk space. The emulator needs room for snapshots.
Issue: Internet Not Working in Emulator
Solution: Extended Controls (three dots in emulator toolbar) > Settings > Proxy tab > verify no conflicting proxy settings.
Try setting DNS manually to 8.8.8.8 in the emulator’s Wi-Fi settings. Corporate firewalls sometimes block emulator traffic.
Issue: App Crashes on Launch
Solution: Check Logcat for stack traces. Filter by your app’s package name. Common causes: missing permissions in manifest, null pointer exceptions, or API incompatibility with selected system image.
The defect tracking process starts here. Document crash logs before investigating fixes.
Alternative Method: Command Line Launch
Power users can launch emulators without opening Android Studio using the emulator command.
GUI Method (Current Guide)
- Time: 2-3 minutes per launch
- Complexity: Beginner
- Best for: Visual device management, quick testing, first-time setup
Command Line Method
- Time: 30 seconds per launch
- Complexity: Intermediate
- Best for: Automated testing, CI/CD pipelines, launching without IDE
Command:
“ emulator -avd Pixel8API35PlayStore `
List available AVDs with emulator -list-avds.
The command line approach integrates well with continuous integration workflows where you need emulators spinning up automatically.
When to Use Each
Choose GUI method when starting with Android development or managing multiple device configurations visually.
Choose command line when automating tests, working in build pipelines, or launching emulators on headless servers.
Next Steps
With your emulator running, explore these related tasks:
- Configure GPS location for testing location-based features via Extended Controls > Location
- Simulate incoming calls and SMS for notification testing
- Test different network conditions (3G, edge, airplane mode) via Extended Controls > Cellular
- Create multiple AVDs targeting different screen sizes and API levels
- Learn how to build APK files for distribution testing
- Connect a physical device via USB for real hardware testing
The emulator handles most testing scenarios, but physical devices reveal performance issues and hardware quirks that virtual devices miss.
For teams scaling their testing efforts, consider AI testing tools that automate UI testing across multiple emulator configurations simultaneously.
FAQ on How To Use Android Studio Emulator
What is the Android Studio emulator used for?
The Android Studio emulator simulates Android devices on your computer for app testing. It replicates hardware features like GPS, camera, and sensors without requiring physical phones.
Developers use it for debugging, UI testing, and checking app behavior across different API levels.
How do I enable hardware acceleration for the emulator?
Open SDK Manager > SDK Tools tab > install Intel x86 Emulator Accelerator (HAXM). Windows users can alternatively enable Windows Hypervisor Platform in Windows Features.
Hardware acceleration reduces emulator lag significantly.
Why is my Android emulator running slowly?
Slow performance usually means disabled hardware acceleration or insufficient RAM allocation. Verify HAXM installation, increase AVD RAM to 4096 MB, close background applications, and use x8664 system images instead of ARM.
How do I create multiple virtual devices?
Open Device Manager, click the plus icon, and repeat the AVD creation process for each device configuration. Create separate AVDs for different screen sizes, API levels, or device types like tablets and Wear OS.
Can I test Google Play services on the emulator?
Yes. Select hardware profiles marked with the Play Store icon when creating your AVD. These profiles include Google Play services, enabling testing for Maps, Firebase, in-app purchases, and other Google APIs.
How do I simulate GPS location in the emulator?
Click the three-dot menu in the emulator toolbar > Extended Controls > Location. Enter latitude and longitude coordinates or search for addresses. You can also simulate routes by loading GPX files.
What is the difference between Cold Boot and Quick Boot?
Quick Boot loads a saved snapshot for faster startup (5-10 seconds). Cold Boot performs a full system restart like powering on a real device. Use Cold Boot when troubleshooting or needing a fresh system state.
How do I transfer files to the emulator?
Drag and drop files directly onto the emulator window. Files save to the Downloads folder. Alternatively, use adb push command: adb push localfile.txt /sdcard/Download/ for precise file placement.
Why does the emulator show a black screen?
Black screens typically indicate GPU driver issues. Switch graphics rendering to Software in AVD settings: Device Manager > Edit > Show Advanced Settings > Graphics > Software. Update your graphics drivers if problems persist.
How do I uninstall an app from the emulator?
Long-press the app icon and drag to Uninstall, same as a real Android device. Alternatively, use adb: adb uninstall com.example.appname. For complete data removal, select Wipe Data in Device Manager.
Conclusion
Understanding how to use Android Studio emulator removes the biggest barrier to efficient app testing. No more juggling physical devices or waiting for hardware shipments.
You’ve covered the complete workflow: AVD configuration, system image selection, RAM allocation, and troubleshooting common issues like slow performance and black screens.
The emulator handles network simulation, GPS testing, and camera input. Quick Boot snapshots cut startup time to seconds. Extended controls let you test edge cases that physical devices make difficult.
Hardware acceleration through HAXM or Windows Hypervisor keeps everything running smoothly on x86 architecture.
Start with one Pixel AVD targeting the latest API level. Add more configurations as your codebase grows and you need coverage across different screen densities and Android versions.
Virtual device testing is now part of your software development process.
- Full-Lifecycle Product Strategy: From MVP Validation to Scalable Production Architecture - July 29, 2026
- How to Rename a Repository in GitHub: Quick Guide - July 28, 2026
- What Modern Teams Should Know Before Replacing Legacy PAM Tools - July 27, 2026


