
Your app looks perfect in the code editor. But does it actually work on a phone?
Learning how to open emulator in Android Studio lets you test apps instantly without connecting physical hardware.
The Android Emulator simulates real devices on your computer. Different screen sizes, API levels, and hardware configurations become accessible in seconds.
This guide walks you through launching virtual devices from Device Manager, run configurations, and command line.
You will learn the exact steps for each method, plus fixes for common startup problems like hardware acceleration errors and slow performance.
Takes about 2 minutes once your AVD is configured.
Introduction
Opening an emulator in Android Studio is the process of launching a virtual Android device to test applications without physical hardware.
Developers need this when debugging apps, testing UI across screen sizes, or validating features on different API levels.
This guide covers 3 core steps requiring about 2 minutes and basic familiarity with the Android Studio interface.
Prerequisites
Before launching the Android Emulator, verify these requirements:
- Android Studio version 2024.1 or later installed
- Android SDK with at least one system image downloaded
- At least one AVD (Android Virtual Device) already created
- Hardware acceleration enabled (Intel HAXM or AMD Hypervisor)
- Minimum 8GB RAM, 16GB recommended for smooth performance
- Windows 10/11, macOS 10.14+, or Linux with KVM support
Time estimate: 1-2 minutes after initial setup.
No Android development experience required for this specific task.
Step 1: How Do You Access the Device Manager in Android Studio?
Access Device Manager through Tools > Device Manager in the main menu bar, or click the device icon in the right-side toolbar to open your virtual device list instantly.
Action
Path: Tools > Device Manager
Alternative: Click the phone icon on the right toolbar panel.
Result: Device Manager window opens showing all configured AVDs.
Purpose
Device Manager is the central hub for creating, configuring, and launching all virtual machines in your development environment.
Step 2: Where Do You Find Your Virtual Device in the AVD List?
Locate your configured emulator in the Device Manager panel where each Android Virtual Device displays with its name, target API level, and screen resolution in a scrollable list.
Action
Location: Device Manager panel > Virtual tab
Display format: Device name, Android version, screen size
Visual indicator: Green play button appears on hover for each AVD.
Purpose
The AVD list lets you manage multiple device configurations for testing across Pixel phones, tablets, Wear OS watches, and Android TV devices.
Each virtual device maintains separate user data and settings.
Step 3: How Do You Launch the Emulator from Device Manager?
Click the green play button (triangle icon) next to your target device in the AVD list, then wait for the Android boot animation to complete and the home screen to appear.
Action
Click: Play button (green triangle) next to device name
Wait time: 30-90 seconds for cold boot, 5-15 seconds with Quick Boot enabled
Result: Emulator window opens with Android home screen.
Purpose
The play button triggers the QEMU hypervisor to start the system image with your configured hardware profile.
Once running, you can deploy apps directly from Android Studio using the Run button or build an APK for manual installation.
Step 4: What Should You See When the Emulator Starts Successfully?
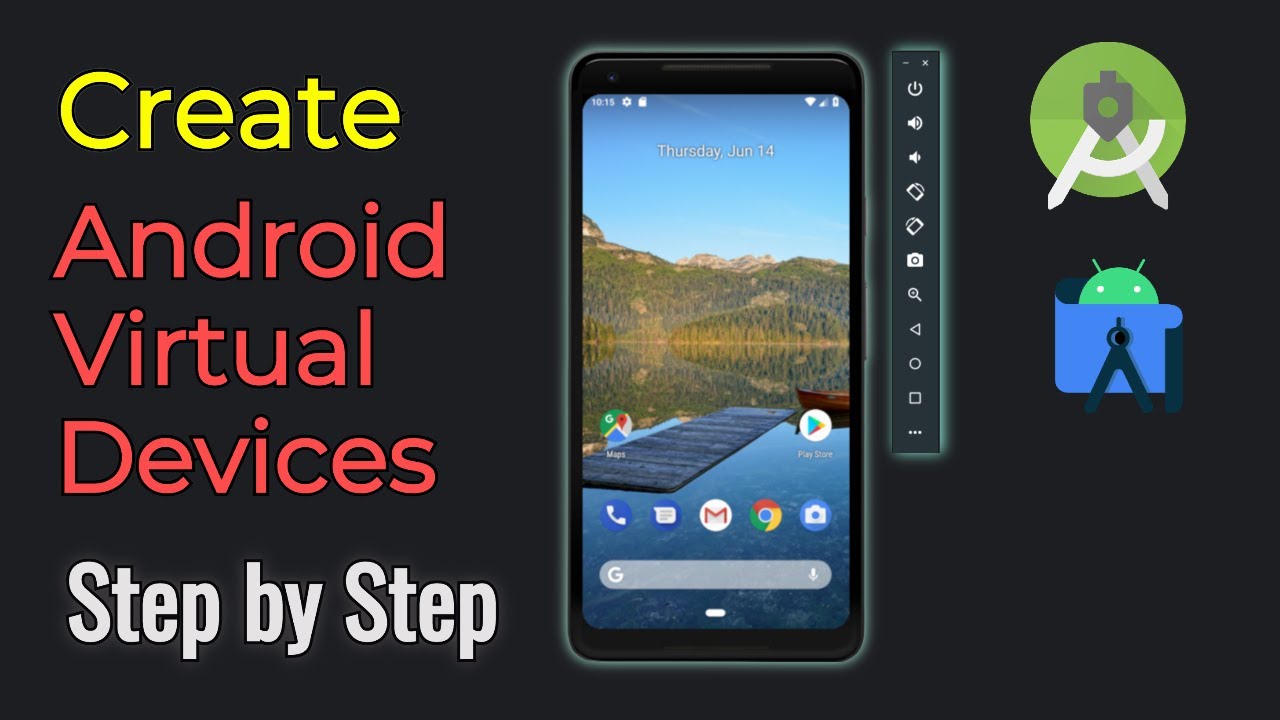
A successful emulator launch displays the Android boot animation followed by the device home screen with app icons, status bar, and navigation buttons in a resizable window.
Action
Visual sequence: Black screen > Google logo > Boot animation > Lock screen > Home screen
Status indicator: Green dot appears next to device name in Device Manager.
Android Studio toolbar: Device name appears in the run configuration dropdown.
Purpose
Confirming successful boot ensures your AVD configuration works correctly before app deployment.
The emulator toolbar provides controls for rotation, screenshots, and extended controls for location simulation.
Alternative Method: How Do You Open Emulator Using Run Configuration?
Launch the emulator automatically by clicking the Run button (green play icon) in the toolbar, which compiles your app and deploys it to the selected virtual device in one action.
Comparison
Device Manager method: 2 clicks, emulator only, no app deployment
Run Configuration method: 1 click, builds and deploys app simultaneously
Choose Run Configuration when actively developing; choose Device Manager when testing emulator setup or running manual tests.
Action
Select device: Toolbar dropdown > Choose your AVD
Click: Run button (green triangle) or press Shift+F10 on Windows, Control+R on macOS.
Result: Gradle builds the project, emulator launches if not running, app installs and opens automatically.
Alternative Method: How Do You Launch Emulator from Command Line?
Start the emulator via terminal using the emulator command with your AVD name, useful for automation scripts, CI/CD pipelines, and build pipeline configurations.
Comparison
GUI methods: Visual, beginner-friendly, integrated with IDE
Command line: Scriptable, faster startup options, better for continuous integration workflows
Use command line for automated testing; use GUI for daily development.
Action
List available AVDs: emulator -list-avds
Launch specific device: emulator -avd YourAVDName
Path: Add $ANDROIDHOME/emulator to system PATH for direct access.
Verification
Confirm successful emulator operation through these checks:
- Device Manager: Green running indicator next to AVD name
- ADB connection: Run
adb devicesin terminal, emulator appears asemulator-5554 - Run dropdown: Device listed in Android Studio toolbar
- Emulator window: Responds to touch input and keyboard shortcuts
Test basic interactions: swipe, tap, rotate (Ctrl+Left/Right arrows).
Troubleshooting
Issue: Emulator Fails to Start
Symptoms: Black screen, crash on launch, or “emulator not responding” error.
Solution:
- Device Manager > Actions menu (three dots) > Cold Boot Now
- Delete AVD and recreate with different system image
- Verify Android SDK tools are updated via SDK Manager
Issue: Hardware Acceleration Not Available
Symptoms: Warning message, extremely slow performance, or emulator refuses to start.
Solution:
- Windows/Intel: SDK Manager > SDK Tools > Intel x86 Emulator Accelerator (HAXM) > Install
- Windows/AMD: Enable Windows Hypervisor Platform in Windows Features
- BIOS: Enable VT-x (Intel) or SVM (AMD) in system BIOS settings
Issue: Emulator Runs Slowly
Symptoms: Laggy animations, delayed input response, high CPU usage.
Solution:
- Use x8664 system images instead of ARM for better performance
- AVD settings > Show Advanced > increase RAM to 2048MB or higher
- Enable Quick Boot: AVD settings > Emulated Performance > Boot option > Quick Boot
- Close other resource-intensive applications
Related Processes
Continue your mobile application development workflow with these guides:
- How to use the Android Studio emulator for advanced testing features
- Connect physical device via USB for real hardware testing
- Update Android Studio to access latest emulator improvements
- Sync Gradle when encountering build configuration issues
For larger projects, consider integration testing across multiple device configurations using the emulator’s snapshot feature.
FAQ on How To Open Emulator In Android Studio
Why is my Android Studio emulator not opening?
Common causes include disabled hardware acceleration, corrupted AVD files, or insufficient RAM allocation.
Check Intel HAXM installation on Windows. Enable virtualization (VT-x or SVM) in BIOS settings. Try cold booting the device from Device Manager.
Where is the emulator located in Android Studio?
Access the emulator through Tools > Device Manager in the menu bar.
The device icon also appears in the right toolbar. Running emulators display inside the Running Devices panel or a separate window based on your settings.
How do I enable the emulator in Android Studio?
Open SDK Manager via Tools > SDK Manager. Navigate to SDK Tools tab.
Check Android Emulator and Android SDK Platform-Tools. Click Apply to download. Create an AVD in Device Manager after installation completes.
Can I run the emulator without opening Android Studio?
Yes. Use command line with emulator -avd YourAVDName from the terminal.
Add the emulator folder to your system PATH first. This method works well for continuous deployment and automated testing scripts.
How do I fix emulator hardware acceleration errors?
Install Intel HAXM through SDK Manager for Intel processors. AMD users need Windows Hypervisor Platform enabled.
Linux requires KVM configuration. Verify virtualization is enabled in your computer’s BIOS or UEFI firmware settings.
Why does my emulator take so long to start?
First boot always takes longer. Enable Quick Boot in AVD settings for faster subsequent launches.
Use x8664 system images instead of ARM. Allocate more RAM to the virtual device. Close memory-intensive background applications.
How do I open multiple emulators simultaneously?
Click the play button on different AVDs in Device Manager. Each emulator runs as a separate instance.
Your system needs sufficient RAM and CPU resources. Each instance uses approximately 2-4GB of memory depending on configuration.
What is the keyboard shortcut to launch the emulator?
No direct shortcut exists for launching the emulator alone.
Press Shift+F10 on Windows or Control+R on macOS to run your app, which automatically starts the selected emulator if not already running.
How do I change which emulator opens by default?
Select your preferred device from the dropdown menu in the Android Studio toolbar before clicking Run.
The IDE remembers your last selection. Create multiple AVDs for testing different screen configurations and API levels.
Can I open the emulator in a separate window?
Go to File > Settings > Tools > Emulator on Windows, or Android Studio > Settings > Tools > Emulator on macOS.
Uncheck “Launch in the Running Devices tool window.” The emulator opens in its own resizable window.
Conclusion
Opening an emulator in Android Studio takes three clicks once you know where to look.
Device Manager handles most use cases. Run configurations speed up active development. Command line works best for automation and CI/CD workflows.
Quick Boot cuts startup time dramatically after the first cold boot. The snapshot feature preserves device state between sessions.
Hardware acceleration problems cause most launch failures. Check HAXM or Hypervisor settings if things break.
The emulator toolbar gives you rotation controls, GPS simulation, and network throttling without touching code.
Test across multiple screen sizes and API levels before any software testing phase ends.
Your codebase deserves proper validation on virtual devices.
- How to Install Notepad++ on Linux - July 30, 2026
- Full-Lifecycle Product Strategy: From MVP Validation to Scalable Production Architecture - July 29, 2026
- How to Rename a Repository in GitHub: Quick Guide - July 28, 2026


