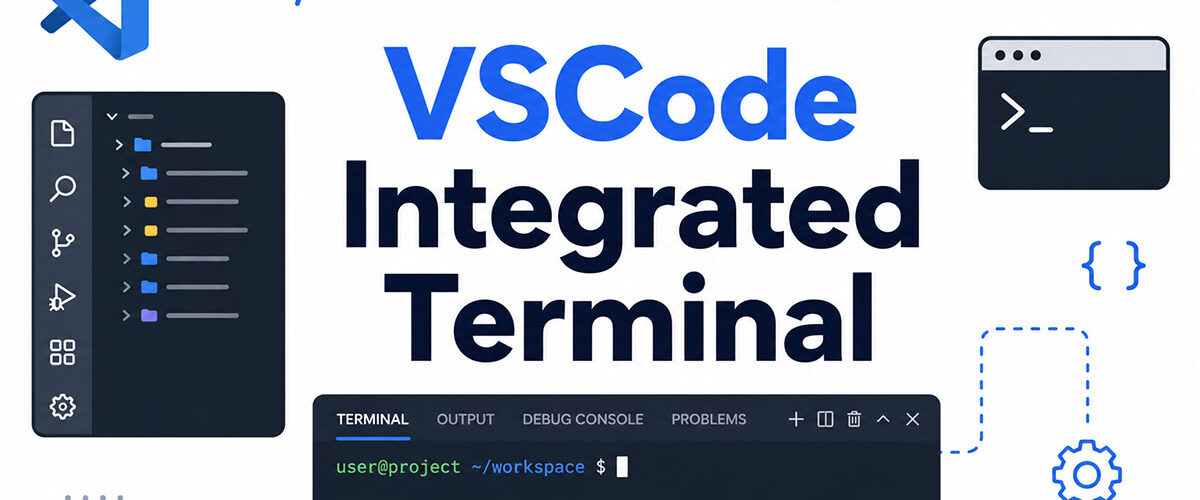
Most developers open a separate terminal window out of habit. The VSCode terminal makes that unnecessary.
Built directly into Visual Studio Code, the integrated terminal shares your workspace path, reads your shell profiles, and connects to the editor in ways a standalone terminal window simply can’t.
This guide covers everything from opening and configuring terminal sessions to fixing common shell issues, managing multiple terminal instances, and running build tools like npm, Vite, and tsc --watch without leaving the editor.
By the end, you’ll know how to get more out of the terminal environment you’re probably already using every day.
What is the VSCode Terminal
The VSCode terminal is a full shell environment embedded directly inside Visual Studio Code. It runs in the same window as your code. No switching apps, no separate terminal window sitting behind your editor.
Under the hood, it runs on xterm.js, an open-source terminal front-end built in TypeScript. Microsoft ships it as a core part of the editor, not as an extension you install separately.
The terminal panel shares the same workspace context as the editor. Open a folder in VS Code, and the terminal drops you into that directory automatically. Your environment variables load from the same shell profile. Your PATH is the same one your build tools expect.
This is what separates it from just having a separate terminal window open. The integration is real, not cosmetic.
How the terminal connects to the editor
Shell integration is what makes the VSCode integrated terminal more than a basic command-line interface. When active, it gives the editor awareness of what the shell is actually doing.
- Clickable file paths in terminal output (opens directly in the editor)
- Error markers in the scrollbar tied to shell output
- Command detection, so VS Code knows where one command ends and another begins
- Working directory tracking across
cdcommands
Shell integration works automatically with bash, zsh, fish, and PowerShell. It injects a small script into your shell startup that communicates state back to the editor using OSC sequences.
Stack Overflow’s 2025 Developer Survey puts VS Code at 75.9% market share among developers globally, up from 73.6% in 2024. The integrated terminal is consistently cited as one of the features developers rely on daily.
What the terminal is not
It’s not a replacement for a terminal multiplexer. If you need tmux-style session persistence across reboots or complex window splitting, a standalone terminal emulator still makes more sense.
It’s also not identical to running the same shell natively. VS Code launches a login shell to source your environment, which means some startup scripts run twice. That occasionally causes unexpected behavior with tools that aren’t designed for it.
How to Open the Terminal in VSCode

Three ways. Pick whichever matches your workflow.
| Method | How | Best For |
|---|---|---|
| Keyboard shortcut | Ctrl + (Windows/Linux) or Cmd + (Mac) | Fastest, daily use |
| Menu | Terminal → New Terminal | First-time users |
| Command Palette | Ctrl + Shift + P → “Create New Terminal” | When hands are already on keyboard |
The backtick shortcut is a toggle. Press it once to open, press it again to hide. The terminal panel stays alive in the background even when hidden, so any running processes keep running.
Opening a terminal in a specific folder
Right-click any folder in the Explorer panel and select “Open in Integrated Terminal.” The new terminal session starts in that directory.
This is the fastest way to spin up a terminal in a subdirectory without manually typing cd. Useful when working in a monorepo where different packages live in different folders.
Opening VSCode itself from a terminal
If you have the code command installed in your PATH, you can launch VS Code directly from any external terminal.
code .opens the current directorycode myfile.jsopens a specific filecode --new-windowforces a new instance
On macOS, you need to install this manually via the Command Palette: Shell Command: Install ‘code’ command in PATH. On Windows and Linux, the installer handles it automatically. For more on how to open VSCode from a terminal, the setup is straightforward once the PATH entry exists.
Terminal Types Available in VSCode
VS Code doesn’t lock you into one shell. It detects what’s available on your system and lets you pick.
Default shell by platform:
- Windows: PowerShell 5 or PowerShell 7 (if installed)
- macOS: zsh (since macOS Catalina)
- Linux: bash
You can override these. Git Bash, fish, and any custom shell binary are all valid options as long as the executable is accessible on your PATH.
Setting a Default Shell Profile
Shell profiles in VS Code are configured through settings.json under the terminal.integrated.profiles namespace.
Each profile defines a shell path, optional arguments, and an icon. You can have multiple profiles defined and switch between them from the terminal dropdown without touching settings again.
Example profile entry (Windows):
"terminal.integrated.profiles.windows": { "Git Bash": { "source": "Git Bash" }, "PowerShell": { "source": "PowerShell", "icon": "terminal-powershell" } }
Set the default with terminal.integrated.defaultProfile.windows. Same pattern applies for .osx and .linux keys. Learning VSCode settings structure makes this significantly easier to manage across machines.
Using WSL Inside the VSCode Terminal
WSL integration is one of the more useful things about working in VS Code on Windows. When you connect to a WSL distro, the terminal drops you directly into the Linux environment.
The WSL extension splits VS Code into a client-server architecture. The UI stays on Windows. Everything else, including your terminal sessions, file access, and extensions, runs inside the Linux distro.
WSL reached 17.1% personal use and 16.8% professional adoption among developers in 2024 (Stack Overflow). That’s a meaningful chunk of Windows developers running Linux toolchains through VS Code daily.
To open a WSL terminal: press F1, run WSL: Connect to WSL, then open a new terminal. The prompt confirms the Linux connection. You can also type code . from any WSL terminal to launch VS Code already connected to that environment.
VSCode Terminal Keyboard Shortcuts

Honestly, the shortcuts are where you get the most time back. Most developers use maybe four of them regularly, and the rest they forget exist.
| Action | Windows / Linux | macOS |
|---|---|---|
| Toggle terminal open/closed | Ctrl + | Cmd + |
| New terminal instance | Ctrl + Shift + | Cmd + Shift + |
| Split terminal | Ctrl + Shift + 5 | Cmd + Shift + 5 |
| Kill active terminal | Ctrl + Shift + Q | Cmd + Shift + Q |
| Focus next terminal | Alt + Right | Option + Right |
| Scroll to top / bottom | Ctrl + Home / Ctrl + End | Cmd + Home / Cmd + End |
The one most people miss: Ctrl+Shift+ creates a brand new terminal instance without closing the current one. Not the same as splitting. A new tab, clean session, separate process.
Customizing terminal keybindings
Every terminal shortcut is rebindable through keybindings.json. Open it via Ctrl+Shift+P > Open Keyboard Shortcuts (JSON).
The when clause terminalFocus scopes your binding to only fire when the terminal panel is active. Without it, your shortcut might conflict with editor-level bindings.
Common customization: mapping Ctrl+Alt+T to open a new terminal, matching the system shortcut developers are used to from Linux desktop environments. Minor thing. Saves a half-second of reorientation every time.
How to Split and Manage Multiple Terminals

Running a dev server and a separate build watcher at the same time is probably the most common reason people need more than one terminal session. VS Code handles this without much fuss.
Splitting terminals side by side
Click the split icon in the terminal toolbar, or press Ctrl+Shift+5. Two terminal panes appear in the same panel, side by side.
Each pane is an independent shell session. They can run different shells if your profiles are configured that way. One pane running bash, one running PowerShell is completely valid.
Navigate between split panes with Alt+Left and Alt+Right.
Managing multiple terminal tabs
Rename a terminal: right-click the tab, select “Rename.”
Color-code terminals: right-click the tab, select “Change Color.” Useful when you have five terminals open and can’t remember which one is running which process.
Reorder tabs: drag and drop in the terminal list panel on the left side of the terminal area.
To kill a terminal: type exit, press Ctrl+D, or click the trash icon in the tab. The session ends and VS Code removes it from the list.
Practical example: Node.js project with multiple processes
A typical Node.js setup during development might look like this:
- Terminal 1 (named “server”):
npm run devrunning the Express or Next.js server - Terminal 2 (named “build”):
tsc --watchfor TypeScript compilation - Terminal 3 (named “git”): free for git commands, quick file checks
Color-coding these three differently makes switching between them muscle-memory fast. Takes about 30 seconds to set up, saves the mental overhead of reading tab names every time.
VSCode Terminal Settings and Configuration

Most terminal settings live under the terminal.integrated.* namespace in settings.json. There are a lot of them. Most people only need to touch a handful.
For anyone just getting started with how to open settings.json in VSCode: press Ctrl+Shift+P and run Preferences: Open User Settings (JSON).
Configuring Shell Profiles in settings.json
Font and appearance settings developers actually change:
terminal.integrated.fontSize: default is 14, most developers bump it to 13-15terminal.integrated.fontFamily: set to any monospace font; “MesloLGS NF” if you use Powerlevel10kterminal.integrated.lineHeight: 1.2 adds a bit of breathing room between linesterminal.integrated.cursorStyle: “line”, “block”, or “underline”terminal.integrated.cursorBlinking: true or false, personal preference
GPU acceleration is on by default since VS Code 1.60. The setting is terminal.integrated.gpuAcceleration with values "auto", "on", or "off". If you’re seeing rendering glitches or broken characters (especially with Powerline fonts), toggling this to "off" usually fixes it.
Environment Variables in the Integrated Terminal
VS Code lets you inject environment variables directly into terminal sessions through terminal.integrated.env. Scoped per platform.
"terminal.integrated.env.linux": { "MYAPIKEY": "dev-value", "NODE_ENV": "development" }
This is useful for setting project-level defaults without modifying your global shell profile. The variables are available in every terminal session that VS Code opens, not just specific ones.
One thing to know: VS Code launches a login shell by default to source your existing environment. If you’re seeing duplicate PATH entries or unexpected behavior, check terminal.integrated.inheritEnv. Setting it to false gives you a clean environment and lets the terminal.integrated.env settings take full control.
Terminal Profiles and Workspace-Specific Configuration
Most developers use one global shell configuration and never touch workspace-level terminal settings. That’s fine for solo projects. It breaks down fast on teams or when switching between projects with conflicting toolchains.
VS Code stores workspace settings in .vscode/settings.json at the root of the project. Terminal settings defined here override your global user settings for that folder only.
Scoping terminal config to a project
Settings you’d typically scope to a workspace:
- Default shell profile (e.g., force bash on a Linux project even on Windows via WSL)
- Environment variables specific to that project’s stack
- Font settings if the project uses specific tooling that requires Powerline glyphs
This config lives in version control alongside your code. Anyone who clones the repo gets the same terminal behavior automatically. Took me a while to realize this was even possible, but it’s one of the cleaner parts of VS Code’s workspace model.
Automating terminal commands with tasks.json
The .vscode/tasks.json file defines terminal tasks that VS Code can run automatically. The most useful trigger is “runOn”: “folderOpen”, which starts a task whenever the project folder opens.
Practical example for a Node.js project:
{ "version": "2.0.0", "tasks": [ { "label": "Start dev server", "type": "shell", "command": "npm run dev", "runOptions": { "runOn": "folderOpen" }, "presentation": { "reveal": "always", "panel": "dedicated" } } ] }
VS Code asks for permission the first time a folder-open task is configured. After that, the terminal launches automatically every time the project opens.
Profile inheritance and multi-root workspaces
In a multi-root workspace (a .code-workspace file combining multiple project folders), each folder can carry its own .vscode/tasks.json. Tasks from all folders are available through the Command Palette simultaneously.
Key behavior to know: workspace-scoped tasks defined in the .code-workspace file only support shell and process types. Other task types require individual folder-level tasks.json files instead.
Common VSCode Terminal Problems and Fixes
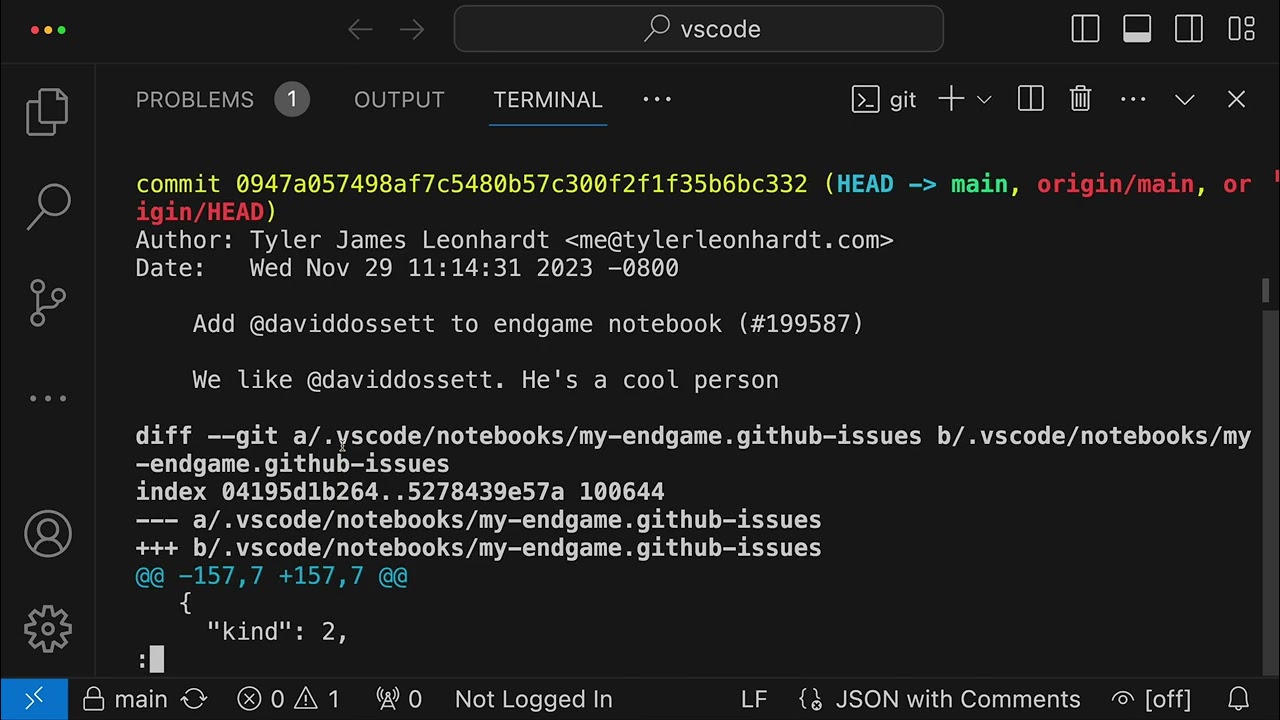
The terminal breaks in predictable ways. Most issues trace back to one of four causes: wrong shell path, GPU rendering conflict, antivirus interference, or a shell startup script running twice.
| Problem | Likely Cause | Fix |
|---|---|---|
| Blank terminal screen | Renderer conflict or corrupted profile | Set gpuAcceleration: "off" or reset default profile |
| Wrong shell loads on Windows | Default profile not set, points to CMD | Set terminal.integrated.defaultProfile.windows |
| Broken Powerline characters | Font doesn’t include required glyphs | Install MesloLGS NF or another Nerd Font |
| Terminal slow to start | Shell startup scripts (e.g., oh-my-zsh, nvm) | Defer slow scripts or use lazy-loading |
| PATH not recognized | Login shell not sourcing profile correctly | Set terminal.integrated.inheritEnv: false and define vars manually |
Blank terminal or terminal not opening
A completely blank terminal panel (no cursor, no output) usually means the renderer failed to initialize or the shell process didn’t start correctly.
Steps in order:
- Disable GPU acceleration: set “terminal.integrated.gpuAcceleration”: “off”
in settings.json
- Check Windows compatibility mode (right-click the VS Code .exe, Properties, Compatibility tab)
- Verify the shell path in your terminal profile is pointing to a valid executable
- Temporarily disable extensions to rule out conflicts
Antivirus software blocking the winpty or ConPTY components is a common culprit on Windows, per the VS Code troubleshooting documentation. Adding VS Code to your antivirus exclusions often resolves it.
Font rendering issues and missing Powerline glyphs
VS Code’s GPU-accelerated renderer supports custom glyphs natively since version 1.108, covering nearly 800 characters including box drawing, block elements, and a significant subset of Powerline symbols.
If characters still appear broken, the issue is almost always the font. The terminal setting terminal.integrated.fontFamily needs to point to a font that actually contains the glyphs your shell theme uses.
Fonts that work well with Powerline/oh-my-zsh themes: MesloLGS NF, JetBrains Mono (Nerd Font variant), Fira Code Nerd Font.
Terminal slow to start or lagging
Slow terminal startup is almost always a shell startup script problem. Tools like GitHub Copilot CLI, nvm, pyenv, and oh-my-zsh all inject code into your shell profile that runs on every terminal open.
The fix for nvm specifically: replace the standard nvm init block with a lazy-loading version that only runs when you actually invoke nvm. Reduces startup time from 1-2 seconds to near-instant.
For persistent terminal lag (not just slow startup), try toggling “terminal.integrated.gpuAcceleration” between “auto” and “on”. The December 2025 VS Code release (v1.108) also fixed several layout thrashing issues that caused editor lag during terminal use.
VSCode Terminal vs External Terminal
The integrated terminal wins for daily development work. There are legitimate reasons to keep a standalone terminal around, though. The answer depends on what you’re doing.
| Factor | Integrated Terminal | External Terminal |
|---|---|---|
| Context switching | None, stays in editor | Separate window/app |
| Workspace path | Auto-set to project root | Manual navigation |
| Clickable file links | Yes, opens in editor | No |
| Session persistence | Limited (closes with VS Code) | Full (tmux, screen) |
| Screen real estate | Shares editor space | Full screen available |
When the integrated terminal is the right choice
VS Code’s 2025 Stack Overflow market share of 75.9% reflects a developer base that largely prefers tight tool integration over separate-app workflows. The integrated terminal is central to that.
It fits best when you’re running short-lived commands: git operations, running tests, npm scripts, build outputs you want to see next to your code. The clickable file links from compiler errors alone save meaningful time during development.
When an external terminal makes more sense
Honestly? Two situations: long-running processes you want to keep alive across VS Code restarts, and complex terminal workflows that need a multiplexer.
DevOps workflows often involve sessions that need to survive editor crashes or system restarts. tmux inside the integrated terminal is one option, but running tmux in a standalone terminal (iTerm2, Windows Terminal, Alacritty) gives you full screen space and proper session management without workarounds.
Opening an external terminal from VS Code: add a keybinding using the workbench.action.terminal.openNativeConsole command. Right-click any folder in Explorer and select “Open in External Terminal” if the option is enabled in your settings.
Performance differences on large output
The integrated terminal handles most output volumes fine. The GPU-accelerated renderer, on by default since VS Code 1.60, keeps performance acceptable even with heavy log output.
Where it can fall apart: commands that produce tens of thousands of lines rapidly (e.g., verbose build logs, log file tailing). Some developers hit scrollback limits or rendering slowdowns in these cases. The default scrollback buffer is 1,000 lines. Raising it via “terminal.integrated.scrollback” helps, but very large values increase memory use.
Running Tasks and Scripts Directly from the VSCode Terminal

The terminal connects directly to VS Code’s task runner. That connection is what makes the difference between just typing commands and having the editor actually understand what’s running.
Running npm, yarn, and pnpm scripts
VS Code auto-detects scripts from package.json and lists them in the task picker. You can run them from the terminal directly or through Terminal > Run Task.
Running via the task runner (instead of typing in the terminal) gives you one extra benefit: problem matchers. These are patterns that tell VS Code how to parse error output and display it in the Problems panel with clickable file references.
Running npm run build directly in the terminal? You get output. Running it as a task with a problem matcher configured? You get output plus errors surfaced in the editor gutter.
Linking terminal output to error detection
Built-in problem matchers VS Code ships with:
- $tsc
: TypeScript compiler errors
- $eslint-stylish
: ESLint output
- $jshint
: JSHint warnings
The TypeScript compiler’s –watch mode works particularly well with VS Code’s task system. Configure it as a background task with the $tsc-watch problem matcher and VS Code continuously updates the Problems panel as files change, without you running any commands manually.
For continuous integration pipelines and local build pipeline work, connecting terminal output to problem matchers is the step that turns VS Code from a text editor into something closer to a full IDE.
Integrating with Vite, Webpack, and tsc –watch
All three tools run as long-lived background processes in the terminal. The setup difference between them is mostly how their output is parsed.
Vite: runs vite or npm run dev. No special task configuration needed for basic use. Fast enough that most developers just run it directly in a terminal tab.
Webpack: runs in watch mode with webpack –watch or via a script. The $webpack-problems problem matcher (from the webpack extension) surfaces build errors in the Problems panel.
tsc –watch: configure as a background task with “isBackground”: true and the $tsc-watch matcher. VS Code then knows this task never “completes” and won’t show a spinner on the terminal tab.
Teams working on front-end development or back-end development with TypeScript will get the most out of this setup. It takes maybe 10 minutes to configure properly and saves the overhead of constantly checking a separate terminal window for compiler errors.
FAQ on VSCode Terminal
How do I open the terminal in VSCode?
Press Ctrl+ (Windows/Linux) or Cmd+ (Mac) to toggle the integrated terminal open. You can also go to Terminal > New Terminal from the menu, or use the Command Palette with Ctrl+Shift+P and search “Create New Terminal.”
How do I change the default shell in VSCode?
Open settings.json and set terminal.integrated.defaultProfile for your platform. On Windows, you can choose PowerShell, CMD, or Git Bash. On macOS and Linux, bash, zsh, and fish are common options.
Why is my VSCode terminal showing a blank screen?
This usually means a rendering conflict. Set “terminal.integrated.gpuAcceleration”: “off” in settings.json as a first fix. On Windows, also check that VS Code isn’t running in compatibility mode, which breaks the terminal process.
How do I split the terminal in VSCode?
Press Ctrl+Shift+5 to split the active terminal into two side-by-side panes. Each pane runs an independent shell session. You can navigate between them using Alt+Left and Alt+Right.
How do I run a script or npm command in the VSCode terminal?
Type the command directly into the terminal panel, just like any shell. For repeatable tasks, define them in .vscode/tasks.json and run them via Terminal > Run Task, which also supports problem matchers for error detection.
Why is my terminal slow to open in VSCode?
Slow startup is almost always caused by heavy shell startup scripts. Tools like nvm, pyenv, and oh-my-zsh run on every terminal open. Use lazy-loading for these tools to cut startup time significantly.
How do I fix broken Powerline fonts in the VSCode terminal?
Install a Nerd Font such as MesloLGS NF or JetBrains Mono Nerd Font, then set terminal.integrated.fontFamily to that font name in settings.json. VSCode’s GPU renderer supports many Powerline glyphs natively as of version 1.108.
Can I use WSL inside the VSCode terminal?
Yes. Install the WSL extension, then press F1 and run WSL: Connect to WSL. Open a new terminal and it drops you directly into your Linux environment. The VS Code UI stays on Windows while everything else runs inside the distro.
How do I open the VSCode terminal in a specific folder?
Right-click any folder in the Explorer panel and select “Open in Integrated Terminal.” The new terminal session starts in that directory automatically, without needing to run cd manually.
How do I set terminal settings per project in VSCode?
Add terminal configuration to .vscode/settings.json at the project root. Settings here override your global user settings for that workspace only. Commit this file to version control so all team members get the same terminal behavior.
Conclusion
This conclusion is for an article presenting the VSCode terminal as more than a convenience feature. It’s a full shell environment with real editor integration, configurable shell profiles, workspace-scoped settings, and direct connections to your build tools.
From splitting terminal sessions and managing multiple shell instances to running tsc –watch with problem matchers, the integrated terminal handles most of what a standalone terminal emulator does.
Fixing common issues like GPU rendering conflicts or slow shell startup takes minutes once you know where to look.
Whether you’re running npm scripts, connecting through WSL, or automating tasks with tasks.json, the terminal panel keeps your development workflow inside one window. That’s the point.

- How to Run a React App in VS Code Step by Step - October 23, 2026
- Transactional or marketing email: which messages your app should send itself - October 23, 2026
- How Software Teams Write SOPs for Releases and Deployments - October 22, 2026