
Someone picks up your iPad. Two taps later, they’re scrolling through your banking app.
Learning how to lock apps on iPad prevents exactly this scenario. Whether you share your device with kids, coworkers, or curious guests, app locking keeps sensitive data protected.
iPadOS offers three built-in methods: native Face ID protection, Screen Time restrictions, and Guided Access mode.
Each serves different purposes. Native lock works for quick privacy. Screen Time handles parental controls. Guided Access locks the entire iPad to a single app.
This guide covers all three methods with exact settings paths, passcode setup, and step-by-step instructions. Takes 2-5 minutes total.
How to Lock Apps on iPad
Locking apps on iPad is the process of requiring Face ID, Touch ID, or a passcode before opening specific applications.
Users need this when sharing devices with children, protecting sensitive data, or preventing unauthorized access to banking and social media apps.
This guide covers three methods: native app lock (iPadOS 18+), Screen Time app limits, and Guided Access single-app mode. Total time: 2-5 minutes depending on method chosen.
What You Need Before Locking Apps on iPad
Check your iPadOS version first. Go to Settings > General > About.
Native app locking requires iPadOS 18 or later. Screen Time works on iPadOS 12+. Guided Access works on all recent versions.
Requirements by method:
- Native Lock: iPadOS 18+, Face ID or Touch ID configured
- Screen Time: iPadOS 12+, 4-digit Screen Time passcode
- Guided Access: Any iPadOS, 6-digit Guided Access passcode
Time needed: 2 minutes for native lock, 5 minutes for Screen Time setup, 3 minutes for Guided Access.
You need administrator access to the iPad. Child accounts under 13 in Family Sharing cannot lock or hide apps themselves.
How Do You Lock Apps Using Face ID or Passcode on iPad?
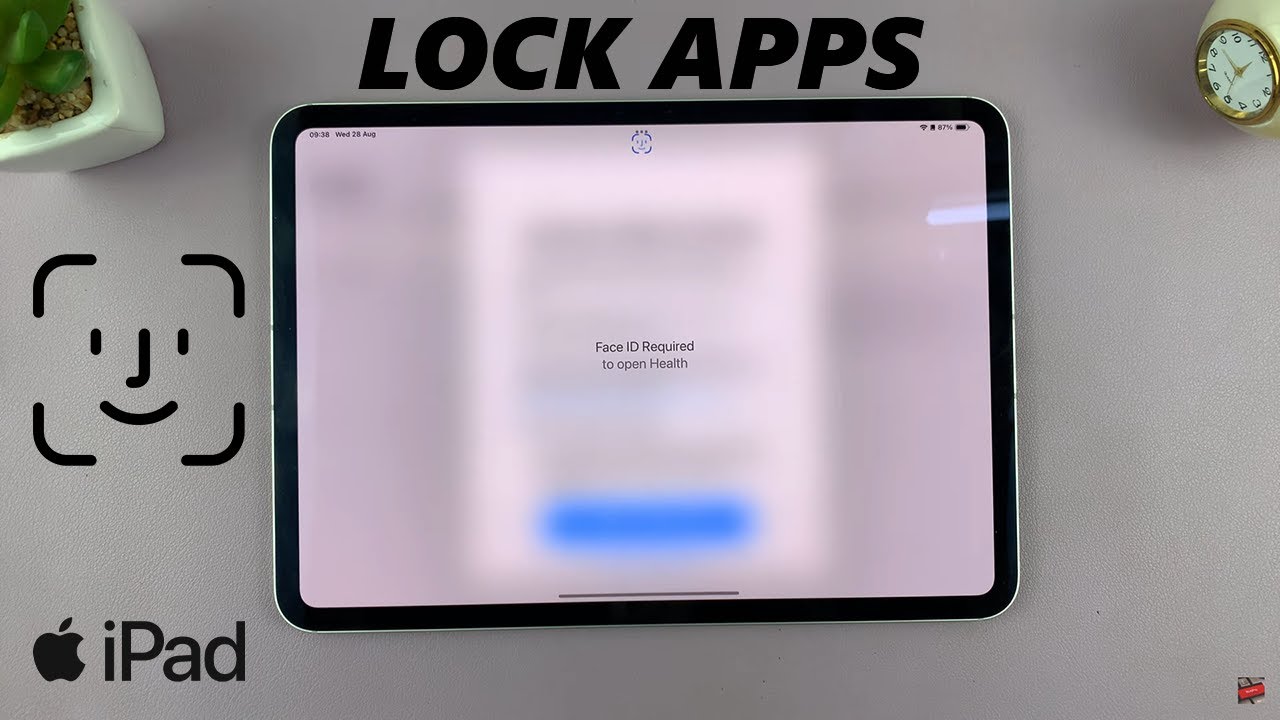
This method works only on iPadOS 18 and later. It locks individual apps with biometric authentication or your device passcode.
Locked apps hide their content from notifications, search results, and Siri suggestions automatically.
Where Do You Find the App Lock Option on Home Screen?
Long-press any app icon on the Home Screen until a menu appears. Look for “Require Face ID” or “Require Passcode” in the popup options.
This option appears for all downloaded apps. Built-in Apple apps like Safari and Camera cannot be locked this way.
How Do You Confirm App Lock with Authentication?
Tap “Require Face ID” or “Require Passcode” from the menu.
Your iPad prompts for Face ID scan, Touch ID fingerprint, or passcode entry. After authentication, the app displays a small lock indicator.
To hide the app completely, select “Hide and Require Face ID” instead. The app moves to the Hidden folder in App Library.
Where Do Hidden Apps Appear After Locking?
Hidden apps go to the Hidden folder at the bottom of App Library.
Swipe left past all Home Screen pages to reach App Library. The Hidden folder requires Face ID, Touch ID, or passcode to open.
App names still appear in Screen Time usage reports and App Store purchase history. If you need to organize apps on your iPad after hiding several, access them through the Hidden folder first.
How Do You Lock Apps Using Screen Time on iPad?
Screen Time locks apps by setting a one-minute daily limit. Once the limit expires, a passcode is required to continue using the app.
This method works for parental controls and self-imposed restrictions. It affects app categories or individual applications.
Where Do You Access Screen Time Settings?
Open Settings app and tap Screen Time.
If Screen Time is off, tap “Turn On Screen Time” and follow the prompts. Select “This is My iPad” for personal use or “This is My Child’s iPad” for parental controls.
How Do You Set Up a Screen Time Passcode?
Inside Screen Time, scroll down and tap “Lock Screen Time Settings.”
Enter a 4-digit passcode. Re-enter to confirm. This passcode differs from your device unlock code.
Apple prompts for Apple Account credentials for passcode recovery. Add these. Forgetting your Screen Time passcode without recovery options means factory reset.
Where Do You Create App Limits to Lock Apps?
Go to Settings > Screen Time > App Limits > Add Limit.
Select specific apps or entire categories like Social, Games, or Entertainment. Tap Next after selection.
You can also block apps on iPad entirely using Content & Privacy Restrictions instead of time limits.
How Do You Configure the Time Limit for Maximum Restriction?
Set the timer to 1 minute for effective app locking.
Toggle “Block at End of Limit” to the ON position (green). Tap Add in the top right corner.
After one minute of use, the app grays out with an hourglass icon. Opening requires the Screen Time passcode. Users see options: “Ask For More Time,” “Enter Screen Time Passcode,” or “OK.”
How Do You Lock iPad to a Single App Using Guided Access?
Guided Access locks the entire iPad to one application. Users cannot exit, press Home, access Control Center, or switch apps without a passcode.
Perfect for kiosk displays, handing iPad to children temporarily, or focus sessions.
Where Do You Enable Guided Access in Settings?
Navigate to Settings > Accessibility > Guided Access.
Toggle Guided Access to ON. This enables the feature but does not activate it yet.
How Do You Set a Guided Access Passcode?
Tap “Passcode Settings” within the Guided Access menu.
Select “Set Guided Access Passcode” and enter a 6-digit code. Alternatively, enable Face ID or Touch ID to end sessions faster.
This passcode differs from both your device passcode and Screen Time passcode. Keep track of all three.
How Do You Start a Guided Access Session?
Open the app you want to lock to first. Then triple-click the Side button (Face ID models) or Home button (Touch ID models).
The Guided Access setup screen appears. Tap Start in the top right corner.
Your iPad now stays locked in that single app. The Home gesture, Control Center swipe, and Siri activation are all disabled.
How Do You Disable Touch on Specific Screen Areas?
Before tapping Start, draw circles around screen areas you want disabled.
Tap Options in the bottom left to configure additional restrictions:
- Side Button: Disable sleep/wake functionality
- Volume Buttons: Prevent volume changes
- Motion: Lock screen orientation
- Keyboards: Disable all typing
- Touch: Disable all touch input entirely
Tap Done, then Start to activate with these restrictions.
How Do You Exit Guided Access Mode?
Triple-click the Side button or Home button again.
Enter your 6-digit Guided Access passcode, or authenticate with Face ID/Touch ID if configured.
Tap End in the top left corner. Your iPad returns to normal operation with full access to all apps and features.
If you need to close apps on iPad after exiting Guided Access, swipe up from the bottom and hold to access the app switcher.
FAQ on How To Lock Apps On iPad
Can You Lock Apps on iPad Without Screen Time?
Yes. iPadOS 18 introduced native app locking using Face ID, Touch ID, or passcode. Long-press any app icon on the Home Screen, then tap “Require Face ID.” This method works independently of Screen Time settings.
How Do I Lock Apps on iPad with Face ID?
Long-press the app icon until the menu appears. Select “Require Face ID” and authenticate. The app now requires Face ID verification each time you open it. Works on all Face ID-equipped iPad models running iPadOS 18 or later.
Does iPad Have a Built-in App Lock Feature?
Yes. iPad offers three native options: direct app locking (iPadOS 18+), Screen Time app limits, and Guided Access. No third-party apps needed. All methods use your existing passcode or biometric authentication for security.
Can I Password Protect Individual Apps on iPad?
Yes. Use native app lock for individual protection with Face ID or passcode. Alternatively, Screen Time lets you set 1-minute limits on specific apps, requiring your Screen Time passcode to continue using them after timeout.
How Do I Lock Apps on My Child’s iPad?
Use Screen Time with parental controls. Go to Settings > Screen Time > Content & Privacy Restrictions. Set app limits, block specific categories, and create a passcode your child does not know. You can also family share apps on iPad while controlling access.
What Is the Difference Between Hiding and Locking Apps?
Locked apps stay visible on Home Screen but require authentication to open. Hidden apps move to the Hidden folder in App Library and require authentication to view. Both protect content from notifications, search, and Siri suggestions.
Can I Lock Apps on iPad Without Jailbreak?
Absolutely. All three methods (native lock, Screen Time, Guided Access) are built into iPadOS. No jailbreak required. Apple designed these privacy settings for security without compromising device integrity or voiding warranty.
How Do I Unlock a Locked App on iPad?
For native lock: long-press the app, tap “Don’t Require Face ID,” then authenticate. For Screen Time: enter your passcode when prompted. For Guided Access: triple-click Side button and enter your 6-digit code, then tap End.
Why Can’t I Lock Certain Apps on iPad?
Built-in Apple apps like Settings, Phone, and Clock cannot use native app lock. Some apps require iPadOS 18+. If you need to turn off permissions for apps on iPad, use Content & Privacy Restrictions instead.
Does Guided Access Lock All Apps on iPad?
No. Guided Access locks iPad to one specific app. Open your target app first, then triple-click to activate. The device stays locked in that single app until you exit with passcode or Face ID authentication.
Conclusion
You now know how to lock apps on iPad using three different methods. Each approach serves specific needs.
Native app lock with Touch ID or passcode works fastest for individual app protection. Takes seconds to set up on iPadOS 18.
Screen Time offers broader content restrictions and works well for managing a child’s device. The App Limits feature locks apps after your chosen time expires.
Guided Access keeps iPad locked to a single application. Ideal for kiosk mode or handing your device to someone temporarily.
Pick the method matching your situation. Combine multiple approaches for layered security.
Your sensitive apps stay protected. Your App Library stays organized. If you ever need to delete apps on iPad later, locked apps work the same as unlocked ones.
Many of his resources are available on various design marketplaces and for free on Codepen.
Over the years, he's worked with a range of clients and contributed to design publications like Design Your Way, Designmodo, WebDesignerDepot, WPDean, Speckyboy, and Slider Revolution among others.
- How to Make a Repository Public in GitHub - July 14, 2026
- Production Incident Communication Without Separate Monitoring and Status-Page Systems - July 13, 2026
- How to Set Up Subscriptions on Google Play (Developer Guide) - July 12, 2026


