Google now requires new personal developer accounts to beta test before going live. Skip it, and you literally cannot publish. Learning how to submit an app to the Google Play Store for beta testing is no longer optional if you’re building for Android.
The Google Play Console offers three testing tracks, each with different rules, review speeds, and tester limits. Picking the wrong one wastes weeks.
This guide walks through every step, from account setup and AAB file preparation to creating your first closed testing release, recruiting testers, and eventually promoting to production. You’ll also learn how the mandatory 12-tester, 14-day requirement works and how to avoid the most common rejection triggers.
What Is Beta Testing on Google Play?
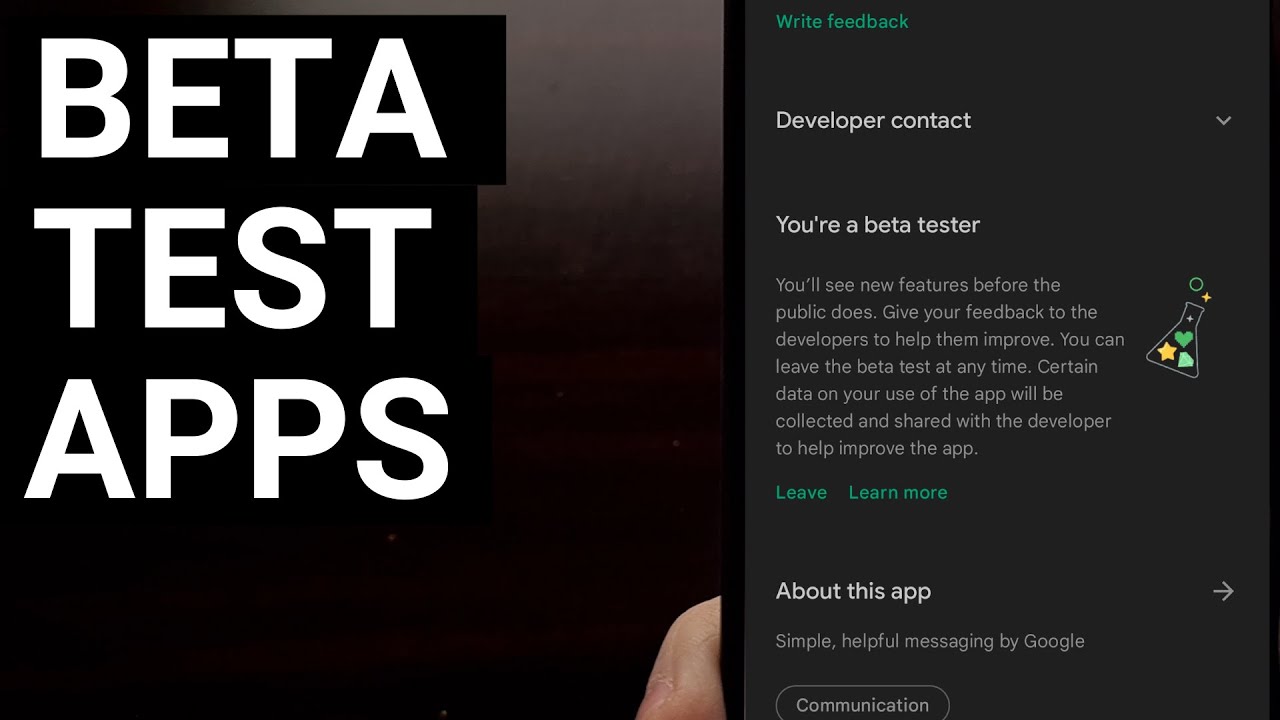
Beta testing on Google Play is a pre-release distribution method that lets developers share an app with a controlled group of users before making it publicly available.
It happens inside the Google Play Console. You upload your Android App Bundle, pick a testing track, add testers, and distribute a working build. Testers install the app directly from the Play Store, use it on real devices, and report bugs or usability problems back to you.
Google structures this around three separate testing tracks, each with different access levels and review speeds. The track you choose affects who can see the app, how fast it gets reviewed, and whether it appears as a public listing.
The whole point is catching crashes, layout problems, and broken features before they reach your actual users. Software testing lifecycle principles apply here. You test in stages, fix what breaks, and gradually expand access until the build is stable enough for production.
Since November 2023, Google has made beta testing mandatory for new personal developer accounts. You can’t skip straight to production anymore. The closed testing requirement exists because Google blocked over 1.75 million policy-violating app submissions in 2025 alone, according to BleepingComputer. Pre-release testing is now part of the quality filter.
Why Google Requires Pre-Release Testing
Google’s crackdown on low-quality apps explains the testing mandate. The Play Store dropped from roughly 3.4 million listed apps in early 2024 to around 1.58 million by late 2025, according to Business of Apps. That is a 47% decline, almost entirely from enforcement actions against spam and abandoned apps.
New personal accounts must now run a closed test with at least 12 testers opted in for 14 continuous days before they can even apply for production access. Google reduced this from the original 20-tester requirement in December 2024 after feedback from independent developers.
Organization accounts are currently exempt from this rule. But even if you’re not required to beta test, doing it anyway catches device-specific crashes that internal QA misses. Instabug’s 2024 stability report found that Android apps had a median crash-free session rate of 99.80%, slightly trailing iOS at 99.91%. That gap narrows fast when teams test on real devices before launch.
Internal Testing vs. Closed Testing vs. Open Testing

Google Play Console gives you three distinct testing tracks. They’re not interchangeable. Each one serves a different stage of the app lifecycle, and picking the wrong track wastes time.
| Track | Max Testers | Review Speed | Counts Toward Production? |
|---|---|---|---|
| Internal testing | Up to 100 | Minutes | No |
| Closed testing | Unlimited (via email lists) | Hours to days | Yes (required for new personal accounts) |
| Open testing | Anyone | Similar to production | No (requires production access first) |
Internal testing is your fastest feedback loop. Builds go live within minutes, sometimes seconds. Up to 100 testers, no formal review. Perfect for daily builds and quick QA cycles where you just need someone to confirm a fix works.
Closed testing is the track that matters most for first-time publishers. This is where Google’s 12-tester, 14-day requirement lives. You invite specific people by email or through Google Groups. Builds go through a review process that catches policy violations before they become rejections at the production stage.
Open testing functions like a public beta. Anyone can join from the Play Store listing. But here is the catch: you need production access to run an open test. So for new personal accounts, it’s not available until after you clear the closed testing requirement.
Which Testing Track to Choose for Your First Beta
Start with internal testing. Always.
Upload your first build there, get your team to install it, and shake out the obvious crashes. Took me a while to learn this, but pushing a broken build straight to closed testing just means your 14-day countdown starts with a bad first impression.
Once internal builds are stable, move to closed testing. This is where you recruit your 12+ testers and start the mandatory 14-day clock. Google’s Play Console documentation recommends recruiting testers who represent your actual target audience, not just friends who will install it and forget about it.
One thing developers miss: Google doesn’t just check that 12 people had the app installed. According to developer reports on r/androiddev, Google also monitors whether you’re actively updating the app based on tester feedback during those 14 days. Upload version 1.0 on day one and do nothing until day 14, and your production application can still get rejected.
Google Play Console Account Setup Requirements

Before uploading anything, you need a Google Play Developer account. The process takes anywhere from 10 minutes to several days depending on your account type and how fast Google processes identity verification.
Personal vs. Organization Accounts
Google Play offers two account types. The choice matters more than most developers realize.
Personal accounts are tied to an individual. You pay the $25 one-time registration fee, verify your identity with a government-issued ID and credit card under your legal name, and verify your phone number. Personal accounts created after November 13, 2023 face the mandatory closed testing requirement before production access.
Organization accounts require a D-U-N-S number to verify the business entity. You still pay the $25 fee. But organization accounts bypass the 12-tester requirement entirely, which is a significant advantage if your goal is to ship fast.
If you’re building apps professionally or through a company, the organization account is worth the extra setup friction. Several no-code platform providers (like Uscreen) now refuse to work with personal accounts specifically because the testing requirements cause unpredictable launch delays.
Identity Verification and Approval Timeline
Google tightened identity verification across 2023 and 2024. Every new account now requires document verification before you can publish.
- Email and phone number verification (immediate)
- Government ID upload for personal accounts
- D-U-N-S number lookup for organization accounts
- Payment profile linking
Account approval typically takes a few hours to a couple of days. But if your submitted documents don’t match (name on ID doesn’t match the credit card, for instance), rejection happens without a refund of the $25 fee.
Starting in early 2024, new personal accounts must also verify access to a physical Android device using the Play Console mobile app. This is another layer Google added to prevent bot-driven spam accounts. When budgeting your mobile app development timeline, factor in at least a week for account setup and verification.
How to Prepare Your App Bundle for Beta Upload

Google Play requires the Android App Bundle (AAB) format for all new app submissions. You cannot upload a raw APK to the Play Store for new apps. This has been the rule since August 2021, and it’s not changing.
The AAB is a publishing format, not an installable file. You upload the .aab to Google Play Console, and Google’s servers generate device-specific APKs through a system called Dynamic Delivery. Users only download the code and resources their specific device needs. Google estimates this reduces download sizes by about 15-20% compared to a universal APK.
If you’re working in Android Studio (which most Android development teams use), building an AAB is almost identical to building an APK. You select Build > Build Bundle(s)/APK(s) > Build Bundle. Or run ./gradlew bundleRelease from the terminal.
Play App Signing
AAB uploads require enrollment in Play App Signing. This is mandatory for all new apps.
Here is how the key structure works:
Upload key: You create this locally, keep it secure, and use it to sign your AAB before uploading. It proves the upload came from you.
App signing key: Google generates and manages this key. It signs the final APKs that reach users’ devices. Google stores it in their secure infrastructure.
This split means losing your upload key is recoverable (Google can reset it), but the app signing key stays consistent for the lifetime of your app. It’s a meaningful security improvement over the old model where losing your keystore meant losing your app listing forever.
Developers working with source control management should never commit signing keys to version control. Keep them in a secure, separate location.
Common Build Errors That Block Upload
Debuggable build flag: If your AndroidManifest.xml has android:debuggable="true", the upload gets rejected. Release builds should never be debuggable. Double check your Gradle build variants.
Version code conflicts: Every upload needs a higher version code than the previous one. Uploading the same version code twice fails silently in some cases, which is frustrating to debug.
Target SDK level: Google updates the minimum target SDK requirement annually. As of 2025, new apps must target at least API level 34 (Android 14). Existing apps have a slightly longer grace period for updates. Miss this, and the upload gets blocked with a somewhat vague error message.
Step-by-Step: Creating a Beta Testing Track in Google Play Console

This is the actual walkthrough. You’ve got your developer account, your signed AAB, and a stable build. Here’s what happens next inside the Console.
Creating the App Entry
Go to Google Play Console and click “Create app.” You’ll fill in the app name, default language, app type (app or game), and whether it’s free or paid.
One detail that trips people up: the free/paid decision is permanent. If you set it to free, you cannot later switch to paid. You can always add in-app purchases later, but the base app pricing is locked at creation. Think through your app pricing model before clicking create.
Navigating to the Testing Track
In the left sidebar, go to Release > Testing. You’ll see the three tracks: Internal testing, Closed testing, and Open testing.
For new personal accounts, your path is Internal testing first (optional but recommended), then Closed testing (mandatory). Open testing and Production won’t unlock until Google approves your closed test results.
Select your track. Click “Create new release.”
Uploading and Rolling Out
On the release creation page, you’ll upload your AAB file. If this is your first upload, Google Play Console will prompt you to set up Play App Signing.
After the upload processes, add release notes. These notes go to your testers, so write something useful. “Bug fixes” tells your testers nothing. List what changed, what to test, and what known issues remain.
Click “Review release,” then “Start rollout.” For internal testing, the build goes live almost immediately. For closed testing, Google reviews it first, which can take hours to a few days depending on the content.
Setting Up a Testers List
For closed testing, you manage testers through email lists inside the Console.
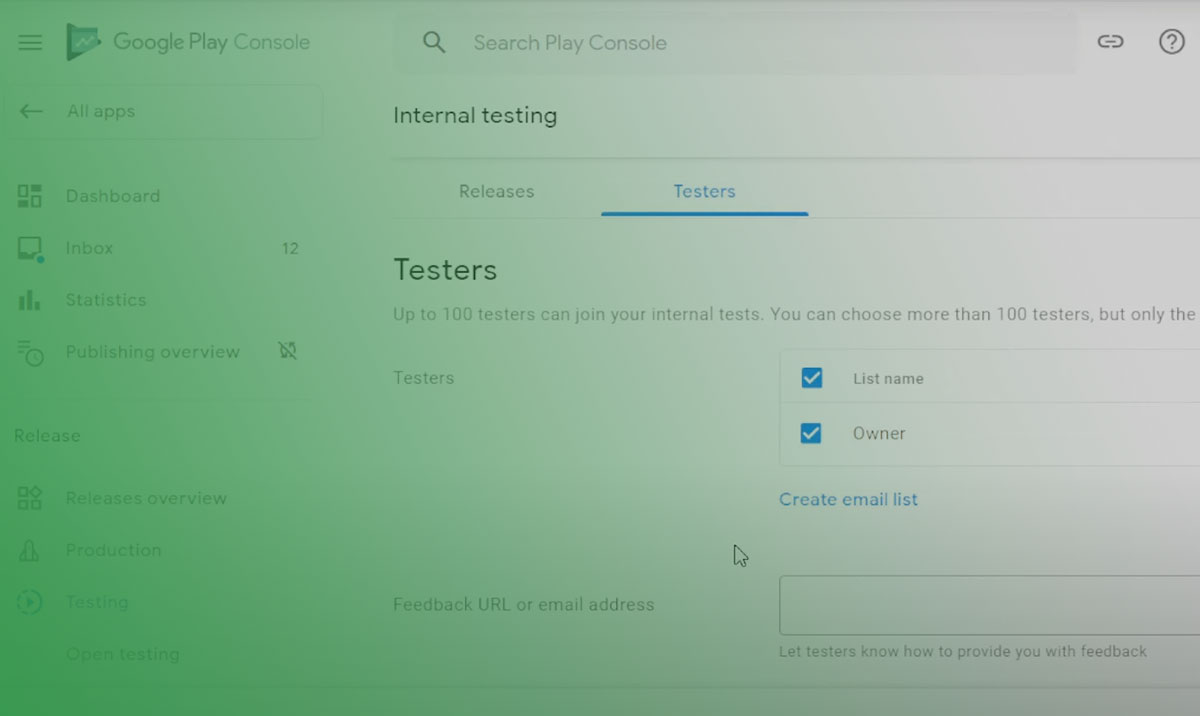
Go to the closed testing track and find the Testers tab. You can add individual email addresses or create a mailing list. Google Groups also works for managing larger tester pools.
After adding testers, the Console generates an opt-in link. Share this URL with your testers. They click it, accept the invitation in their browser, and then install the app from the Play Store like a normal download.
The 14-day clock starts when testers opt in, not when you send the link. If someone opts in on day 3, their 14-day count starts on day 3. You need at least 12 testers continuously opted in for the full 14 days. Anyone who opts out resets their individual count.
Recruit a diverse group. Google’s own documentation recommends testers who represent your actual user base. If you’re building a productivity app for businesses, recruiting only college students won’t give you useful feedback, and Google may notice the mismatch during their review of your production application.
Store Listing Requirements for Beta Apps

Even beta releases need a complete store listing. Google won’t let you create a release until certain metadata fields are filled in. This catches a lot of first-time developers off guard.
Required Metadata
App title: 30-character limit. Make it descriptive.
Short description: 80 characters. Shows in search results and browse pages.
Full description: Up to 4,000 characters. This is your main store listing copy. Even for a beta, write something that explains what the app does. Testers need context.
App icon: 512 x 512 pixels, PNG format, 32-bit color with alpha channel. This is the icon users see in the Play Store and on their device.
Feature graphic: 1024 x 500 pixels. Required. It shows at the top of your store listing. For proper dimensions and format details, refer to Google’s Play Store screenshot size guidelines.
Screenshots and Visual Assets
You need a minimum of 2 screenshots per device type you’re targeting (phone, tablet, Chromebook, etc.). Most developers provide 4-8 phone screenshots showing key screens and features.
Screenshot specs for phones: minimum 320px, maximum 3840px on any dimension. JPEG or 24-bit PNG, no alpha. Screenshots should show the actual app, not marketing mockups with text overlays (though many developers add those anyway).
Content Rating and Privacy Policy
Google requires you to complete the IARC content rating questionnaire before any release, including beta. It’s a series of questions about your app’s content (violence, language, user-generated content, etc.), and Google assigns age ratings based on your answers. Misrepresenting your content here is a policy violation.
A privacy policy URL is mandatory for all apps. Even if your beta app collects zero user data, you still need one. Host it on a public URL that Google’s review team can access.
The data safety section also needs completing. This is where you declare what data your app collects, whether it’s shared with third parties, and your data retention practices. Getting this wrong doesn’t just mean rejection. It can trigger a software compliance issue that affects your entire developer account.
All of this metadata work feels excessive for a beta test. But Google treats every testing track as a real distribution channel. The listing quality bar is the same whether you’re sending the app to 12 testers or 12 million users.
FAQ on How To Submit An App To The Google Play Store For Beta Testing
How much does a Google Play Developer account cost?
There’s a one-time $25 registration fee. No annual renewals. Both personal and organization accounts pay the same amount. Prepaid cards aren’t accepted, and if your identity verification fails, Google won’t refund the fee.
What is the difference between internal testing, closed testing, and open testing?
Internal testing supports up to 100 testers with minimal review. Closed testing requires an invite list and is mandatory for new personal accounts. Open testing lets anyone join but requires production access first.
How many testers do I need for closed testing?
You need at least 12 testers opted in continuously for 14 days. Google reduced this from 20 in December 2024. Organization accounts in the Google Play Console are exempt from this requirement entirely.
Can I upload an APK for beta testing?
No. Google Play requires the Android App Bundle (AAB) format for all new app submissions. APK uploads haven’t been accepted for new apps since August 2021. Build your AAB through Android Studio or Gradle.
How long does Google Play review take for beta releases?
Internal testing builds go live within minutes. Closed testing reviews typically take a few hours to a couple of days. Apps in sensitive categories like fintech or health may face 3-5 days of additional checks.
Do beta testers need a special app to install my build?
No. Testers click an opt-in link, accept the invitation, and install the app directly from the Google Play Store. It looks like a normal download. They must use the same Google account you added to the tester list.
Can beta testers leave public reviews on my app?
Not on internal or closed testing tracks. Those testers can only submit private feedback. Open testing is different. Anyone who joins an open beta can leave public Play Store reviews that affect your rating.
What happens if my beta app gets rejected?
Google provides feedback in the Play Console explaining the policy violation. Fix the issue, increment your version code, and resubmit. Re-review follows the same timeline as the original submission. There is no expedited resubmission queue.
Do I need a privacy policy for a beta app?
Yes. A privacy policy URL is mandatory for every app on Google Play, including beta releases. You also need to complete the data safety section and the IARC content rating questionnaire before creating any release.
How do I move from beta testing to a full production release?
After completing closed testing requirements, request production access from your Play Console Dashboard. Google reviews your application separately. Once approved, you can promote your build from the testing track directly to production.
Conclusion
Knowing how to submit an app to the Google Play Store for beta testing comes down to following a clear sequence. Set up your developer account, build a signed AAB, create your testing track, recruit real testers, and iterate on feedback before promoting to production.
The 12-tester, 14-day closed testing requirement is the biggest bottleneck for new personal accounts. Plan for it early. Recruit testers before your build is ready so the clock starts the moment you upload.
Pay attention to store listing metadata, the IARC content rating, and your data safety declarations. These trip up more developers than actual code bugs.
Use the pre-launch report. Monitor Android Vitals during your staged rollout. And don’t rush to 100% on day one.
Beta testing on Google Play isn’t just a policy checkbox. It’s the part of the app deployment process where you catch what your local testing missed.

- MongoDB Cheat Sheet - October 20, 2026
- Adding AI Video Generation to a Software Product: Architecture, Cost Guardrails and QA - October 20, 2026
- Show Hidden Characters, Spaces, and Line Endings in Notepad++ - October 19, 2026